CaptureX · macOS 14+
HDR screenshot annotations and formats on Mac
Add HDR highlights, text and arrows to screenshots. Compare real exports and learn HEIC, 16-bit PQ PNG and Adaptive HDR JPEG requirements, SDR copy and recovery.
How to use it
- Take a screenshot and turn on HDR in the editor toolbar. Add a highlight, text, tag or arrow; change brightness in the tool options, up to 4×.
- Review the canvas. Live HDR editing needs macOS 26+ and a compatible WebGPU HDR display setup. The control explains SDR fallback or display limitations.
- Choose Export and select HEIC, PNG or JPEG. A document with HDR annotations defaults to HEIC; PNG uses 16-bit PQ and JPEG uses Adaptive HDR.
- Open the saved file in an HDR-capable receiving app to check its appearance. Use ordinary Copy when you need an SDR image for broad compatibility.
System, permissions and privacy
HDR editing and all three HDR save formats require macOS 15+. macOS 14 retains ordinary editing and existing project data, with SDR copy available.
Live preview requires macOS 26+, WebGPU HDR and a supported screen. Actual brightness depends on display headroom, browser and receiving app; the sample cannot confirm your screen’s capabilities.
Rendering and encoding run locally. Source screenshots are preserved, and switching HDR on alone does not change an ordinary document’s default format.
Limits, cancellation and recovery
HDR export allows at most 8,192 pixels on either edge and 16,777,216 total pixels. Transparent areas are composed onto white. Reduce the output size if the limit is exceeded.
An unsupported preview environment displays SDR without discarding HDR annotations. Encoding failure or cancellation keeps your edits for retry; CaptureX does not silently substitute SDR for an HDR save.
Save and share
Whole-image Copy, Pin and screenshot drag-out use SDR. Save HEIC, 16-bit PQ PNG or Adaptive HDR JPEG to retain HDR brightness.
The comparison below uses genuine native exports from the same edit. Keep the original colors when sharing; a receiving app may display an SDR rendition even when the file preserves HDR.
HDR for screenshots
Brighter emphasis. Details intact.
Give highlights, arrows and text up to 4× luminance gain. Mark what matters and save an HDR image, all in the same CaptureX editor.
- Capture, then enable HDR
- Annotate and adjust brightness
- Export with HDR preserved
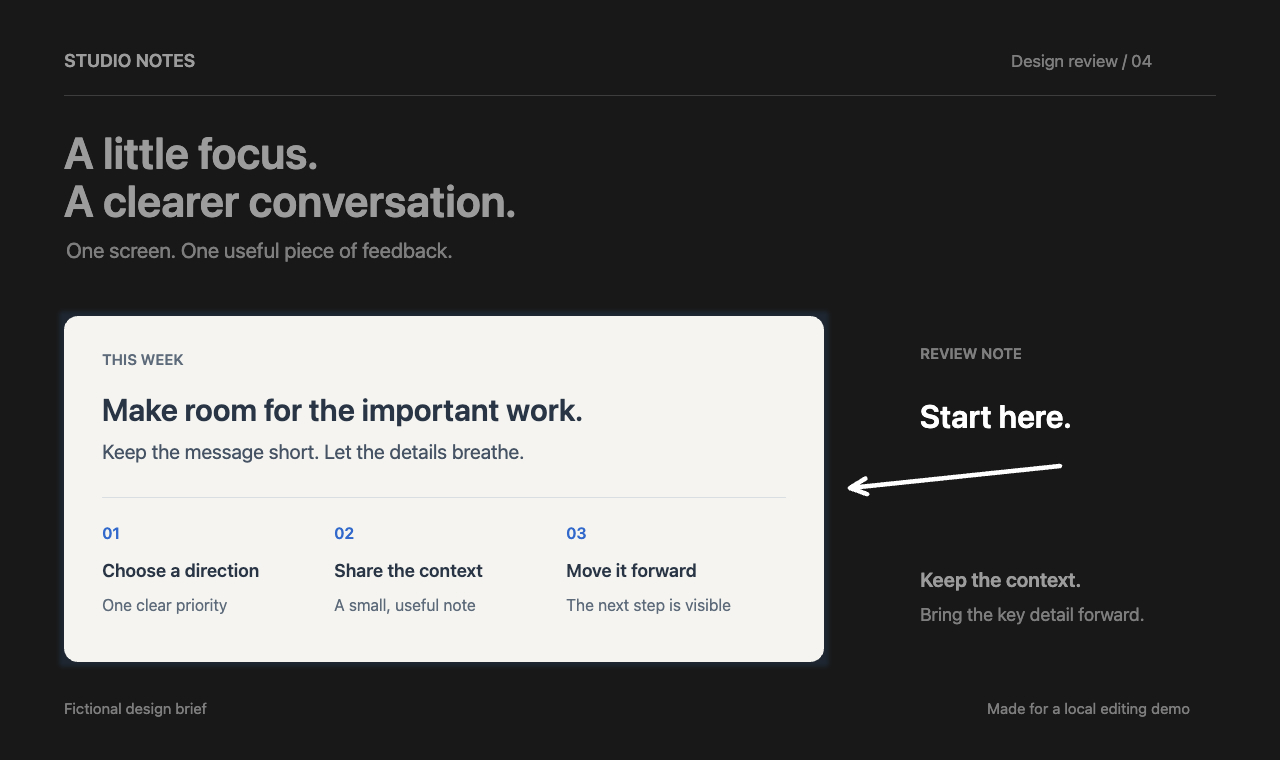
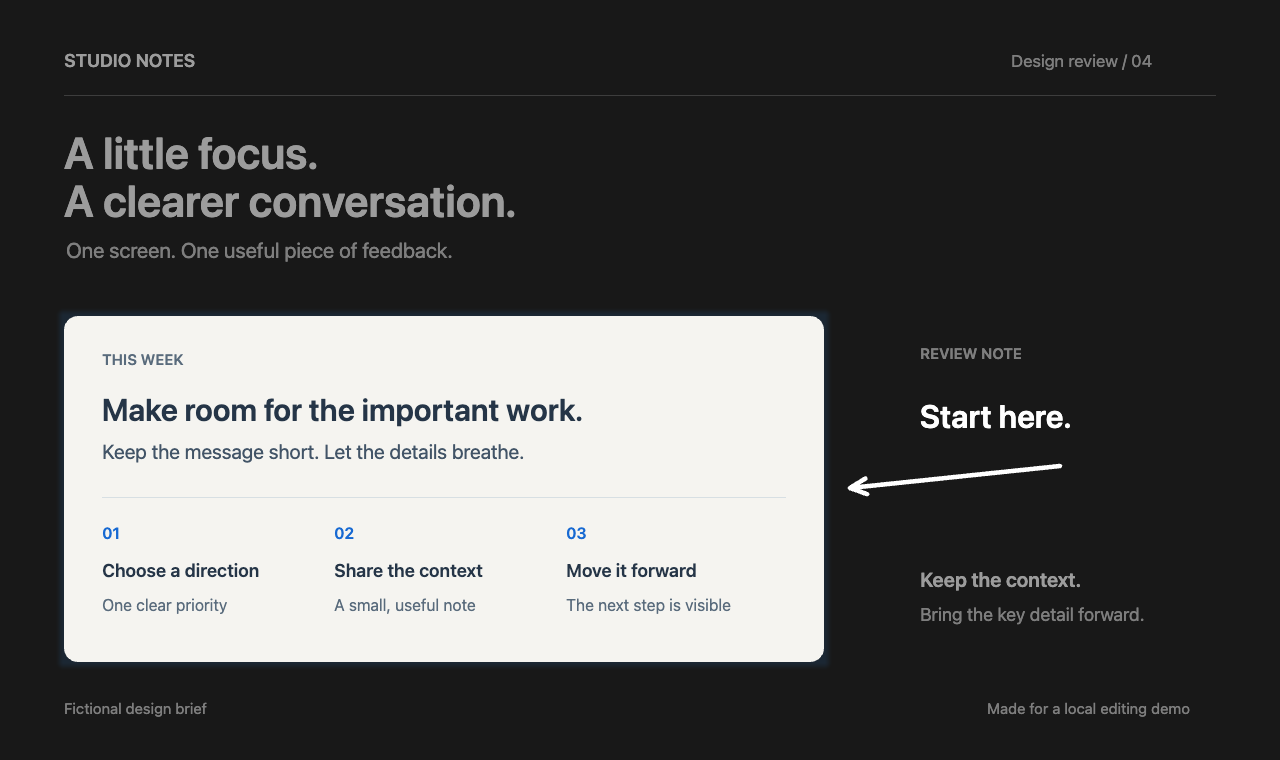
An output sample made with fictional content, edited and natively encoded by CaptureX. Text in the sample is in English.SDR illustrations with brightness adjusted to show the difference in emphasis; they do not reproduce a real HDR screen. The content is fictional, with text in English.
A browser’s HDR capability report does not verify the screen’s actual physical brightness. Appearance depends on display headroom, the browser and the receiving app. Check saved images in the app they will be viewed in.
- Edit & save
- macOS 15+. HDR annotations default to HEIC; PNG (16-bit PQ) and JPEG (gain map) also preserve HDR.
- Live HDR preview
- macOS 26+, an HDR display and WebGPU HDR support. Other environments show an SDR preview; macOS 15+ can still save HDR.
- Everyday copying
- Copy, Pin and drag-out use SDR. Export an HDR image to retain extra brightness. Your source stays unchanged.
Related guides and updates
- Scrolling screenshots on Mac
- Local OCR and screenshot translation on Mac
- Screen recording with audio and camera on Mac
macOS 14+ · everything runs locally