Practical workflows · macOS 14+
Record a product demo on Mac with CaptureX
On macOS 14 or later, record the task, make a quick edit and export the finished clip.
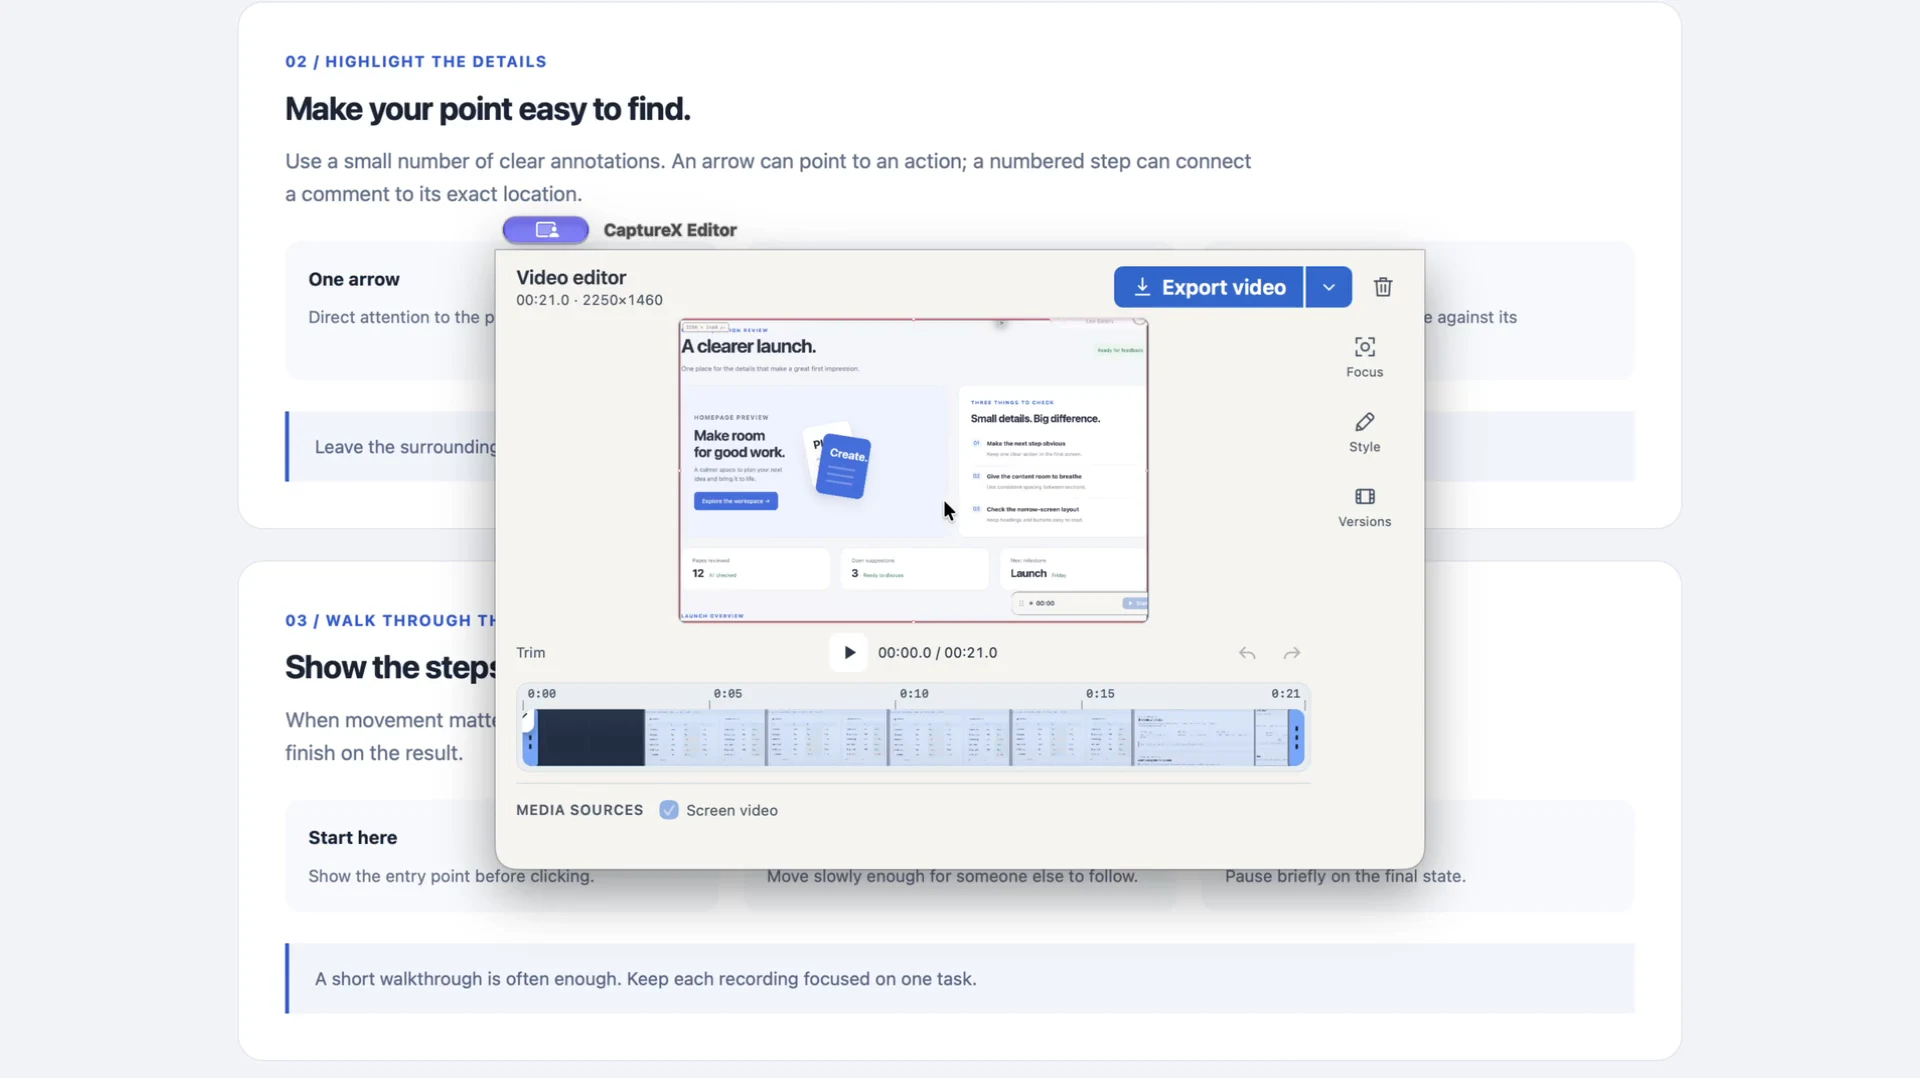
Region recording, navigation and preview in an English development build with visible selection borders and fictional content. Silent, with waits removed; audio, camera and captions are not demonstrated. Starts at 1.5× speed; adjust the speed in the video player.
1. Record
- Press the default Control + Shift + A, then Tab to switch to recording. Select a window or drag an area. Check Settings → Shortcuts if you use custom keys.
- Adjust width × height if needed, then click Start recording or press Enter. Grant Screen Recording access when prompted. Enable microphone, system audio or camera only when needed; microphone and camera require their own permissions. Resolve device or permission warnings in Recording health before starting.
2. Make a quick edit
- After stopping, drag the timeline ends to trim waiting. Choose which audio and camera tracks to include, then play the preview.
- With an audio track, use Captions to generate Chinese or English captions offline. Check the text, then burn them in or export SRT. This needs Speech Recognition permission and local language support.
3. Export
- Choose Export for MP4, or use the arrow menu for GIF up to 15 seconds or All source files. Open the finished file to check it. Failed or cancelled exports keep the project available for retry; source media stays unchanged.
Related feature guides
macOS 14+ · everything runs locally